Stained glass is a unique and handcrafted process, where designs are carefully developed into a final result, that is both functional and artistic. Whether it's a door, window, or standalone panel, each work starts with your wishes and ends as a work of art, that perfectly fits in your home.
The road from an idea to the design
I start by setting up the outer dimensions in a design program. I take into account that the lead strip is 8mm wide and that the glass rests on one side of the H-profile. The advantage of working with H-profiles is that you can trim them if the final piece doesn’t fit properly into the rebate. Within this frame, I start with a few horizontal and vertical lines and circles of various sizes. Depending on your wishes, the work can consist of larger glass pieces or smaller ones, that is: more lines and circles. Larger pieces create a sense of calm, while choosing smaller pieces makes the design more dynamic and interesting. That way, I can also complement the circles with inner and outer circles.
The next step is removing parts of lines, add new ones, or move them around to create a nice balance. At this point, I check the design by photoshopping it into the location where the stained glass will go. This is a check to see if the size of the pieces is in proportion to the surroundings, and honestly, I just really enjoy having a preview of the final result. Once I am completely satisfied, I determine the width of the lead. Finally, I create two types of prints: one for cutting the glass, with the direction of the glass indicated, and one on which I assemble everything later, which also shows the width of the lead. This way, I can work very precisely, and the final result is straight and plumb!
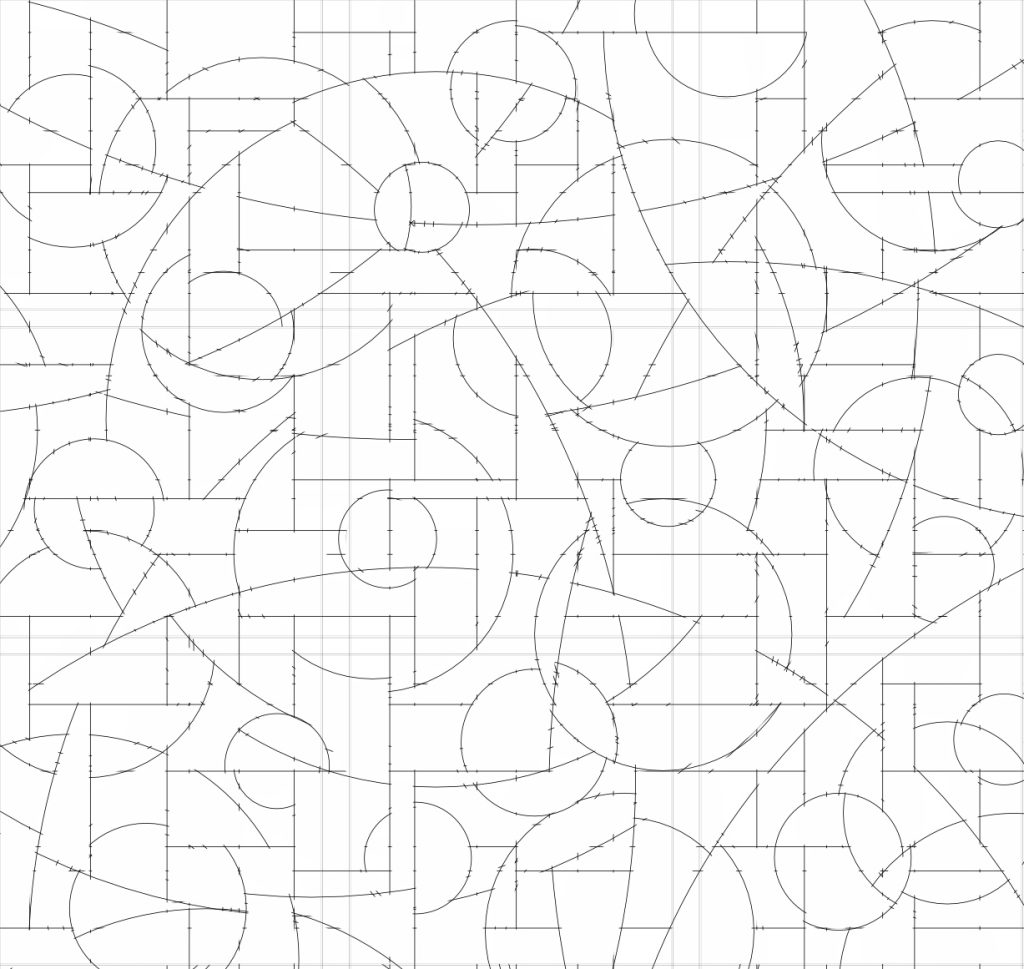
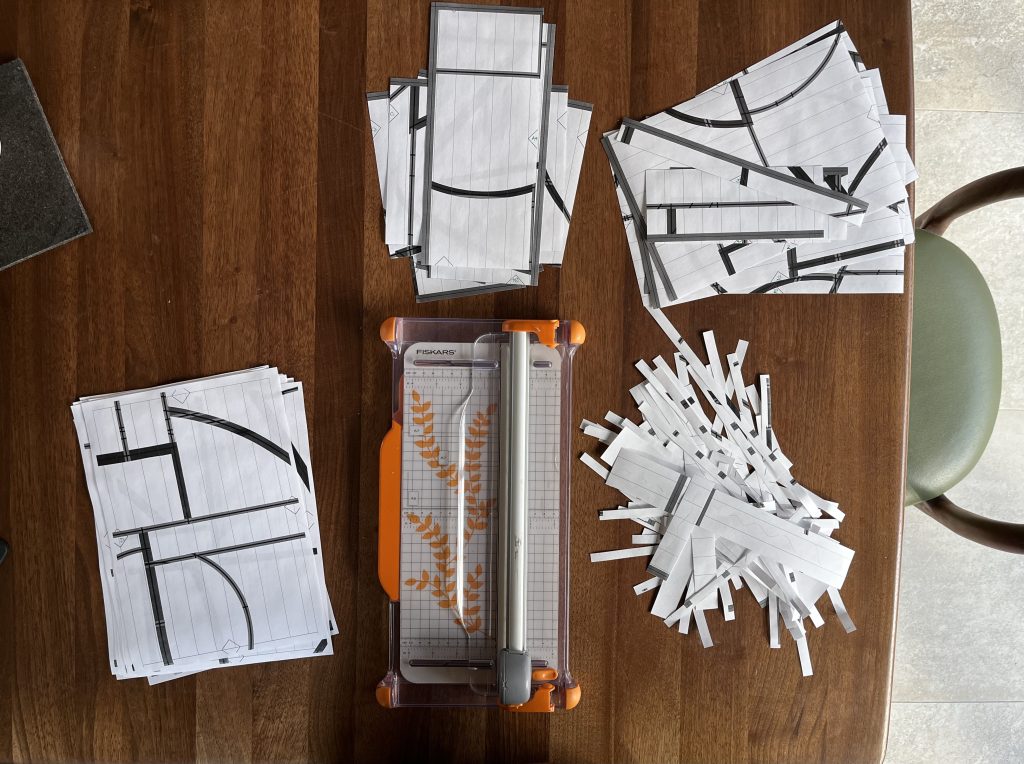
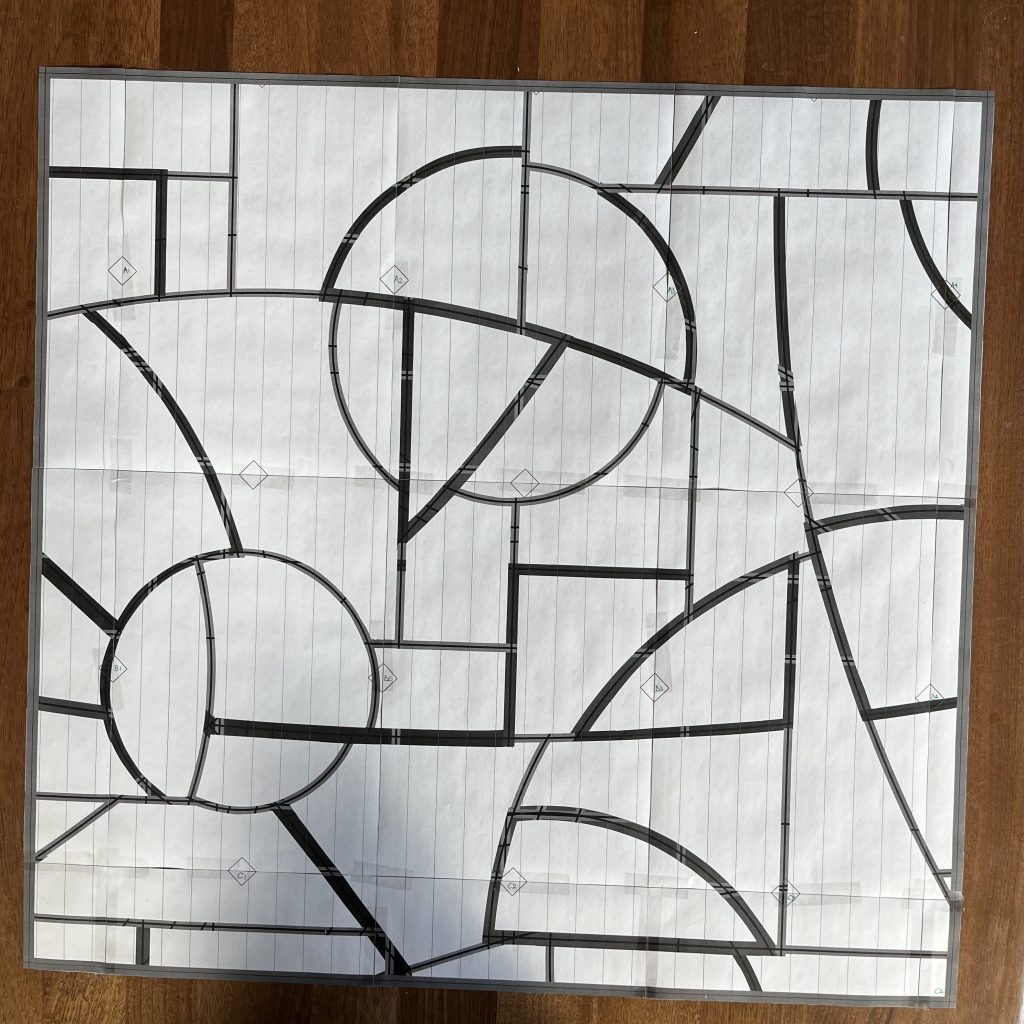
the base for assembling
Choosing, cutting, and grinding the glass
Choosing the structures of glass is crucial for the final look & feel. I always use so-called "monument glass", which has irregularities compared to normal window glass, creating a slightly distorted view and breaking the light more beautifully. The more monument glass in the work, the more serene the work appears. I am also fond of zebra glass (white and transparent stripes) combined with a more irregular textures. You will find beautiful types of glass available in different price ranges, it all depends on your wishlist.
Once I know which types of glass I will be using, usually around five different, I start distributing the different kinds across the design. I look for a balanced arrangement, ensuring that pieces of the same type of textured glass do not touch each other. Adding more textured glass provides more privacy, while more heritage glass means more transparency.
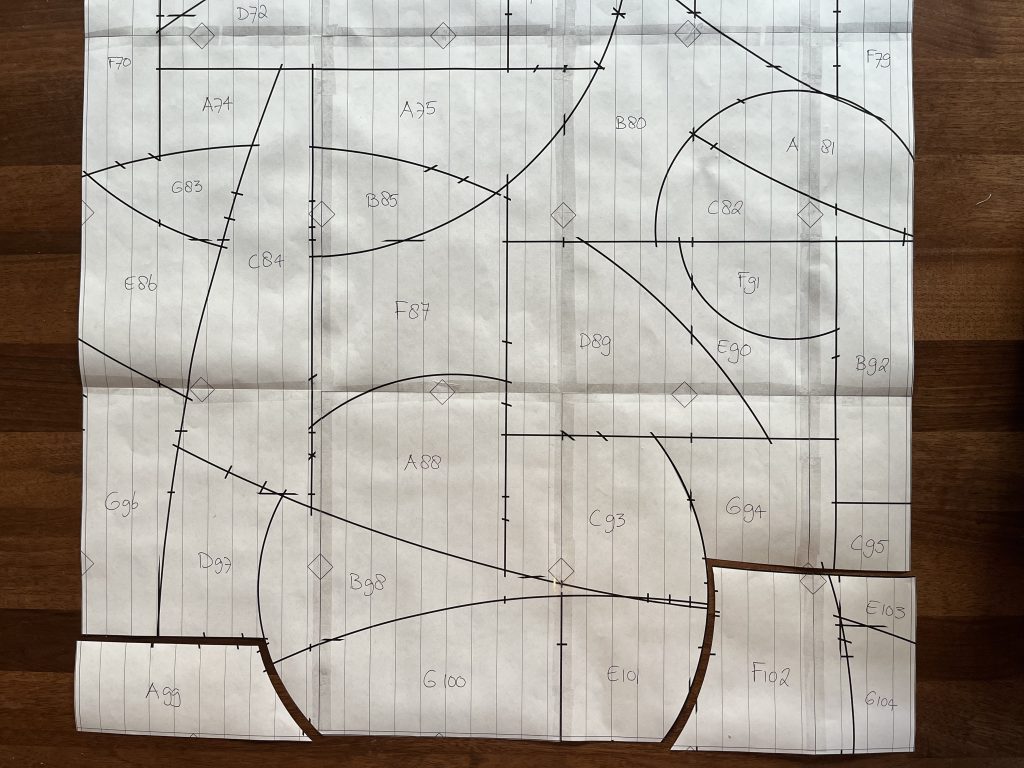
One of the most enjoyable parts of the process is cutting the glass. By then, I have already completely cut out and sorted the glass prints by type of glass. The glass prints are placed on the glass in the most efficient way possible, taking careful note of the direction of the glass. Gloves are on, and it's time to cut and break! I usually cut all the glass at once, except for very large works, like the three en-suite doors. For those, I cut the glass for each of the three panels—meaning one door—because there are more than 100 pieces of glass in one door!
Finally, the glass is ground exactly according to the print. This precision work determines how neat the final result will be.
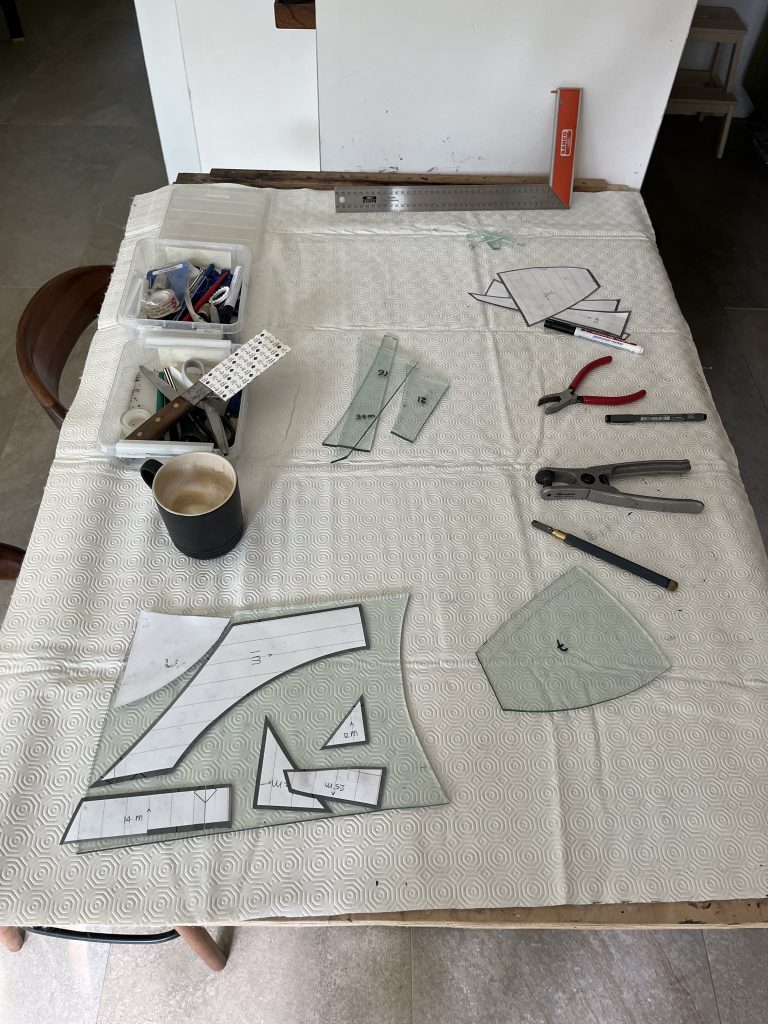
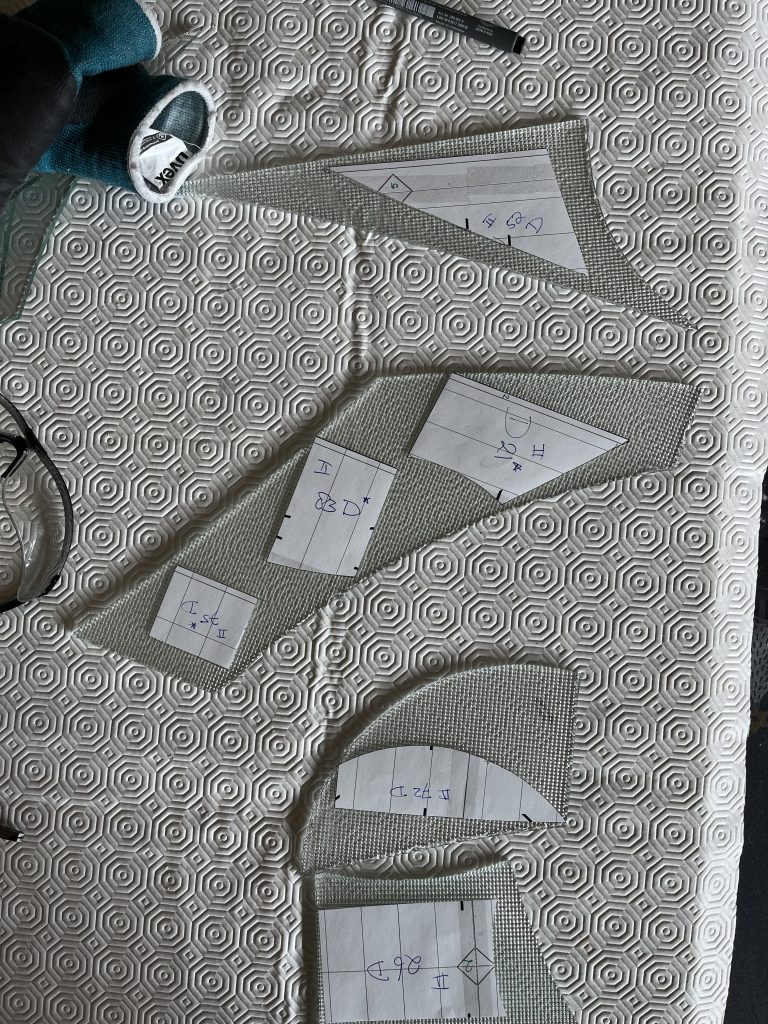
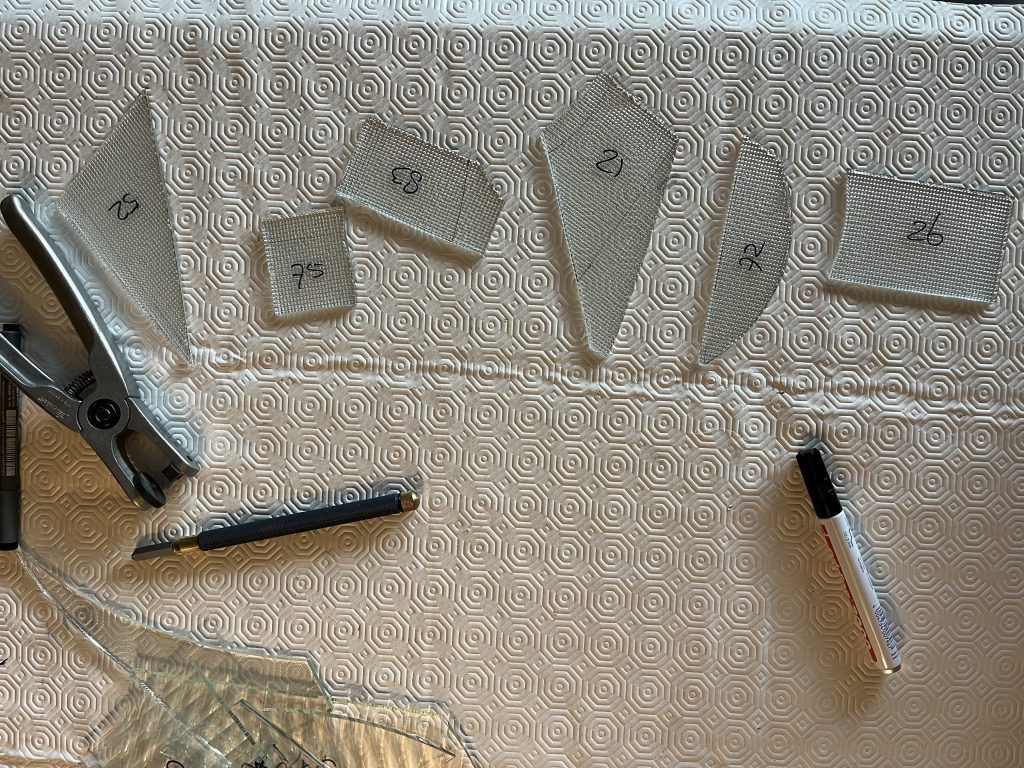
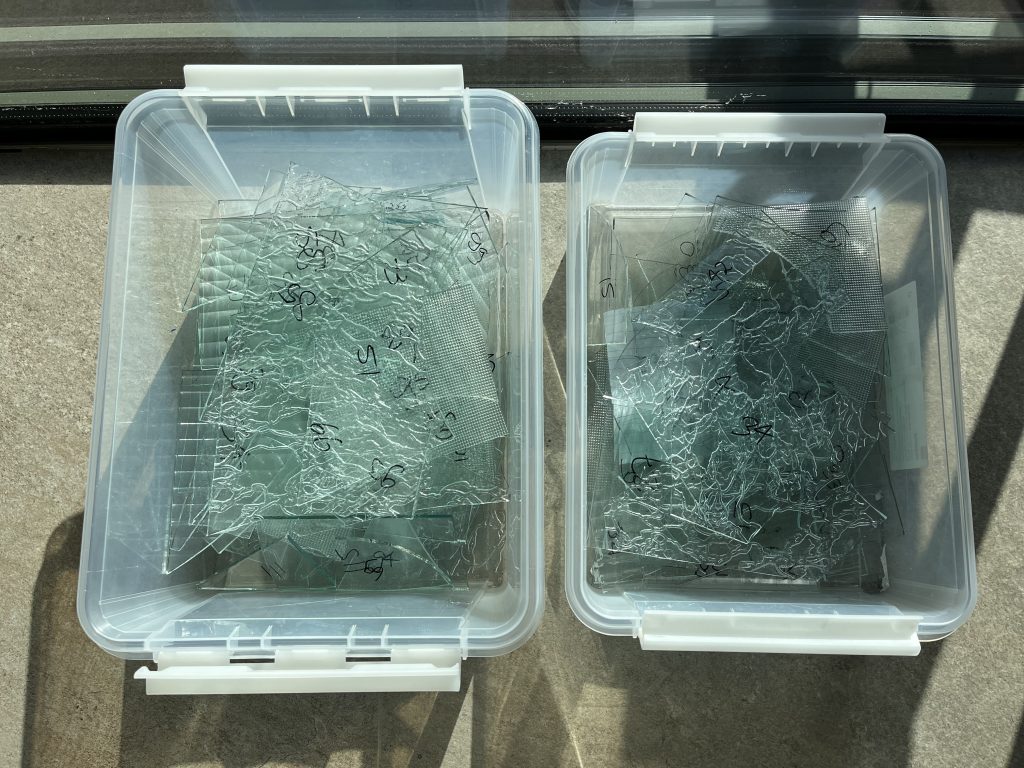
glass for a single door
Applying the lead around the glass
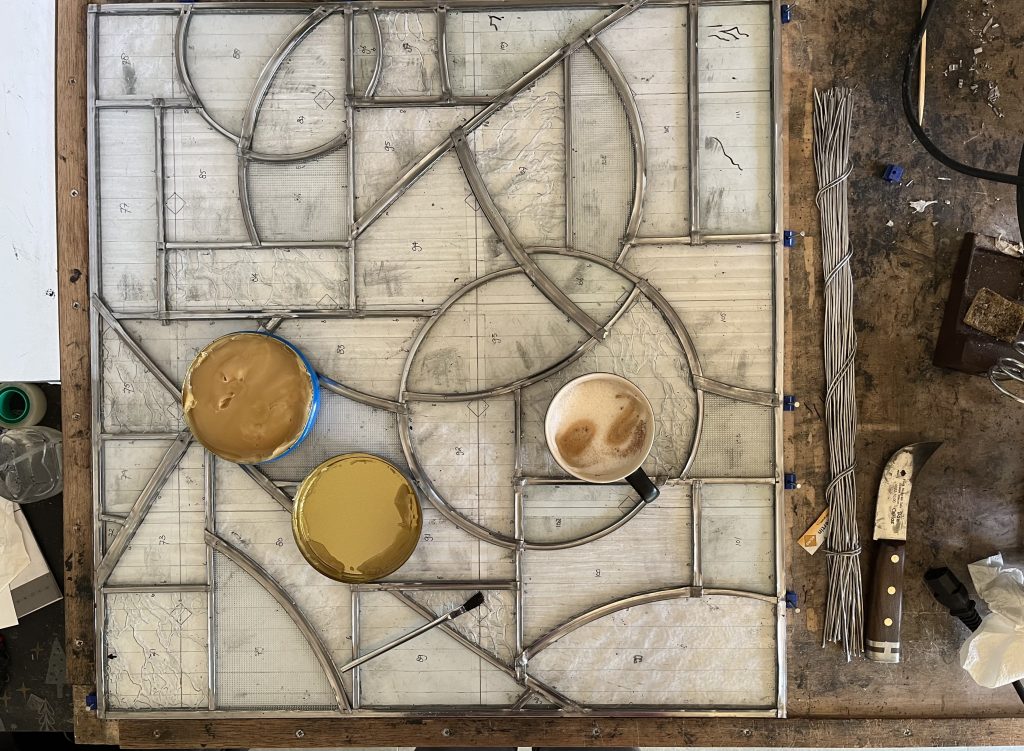
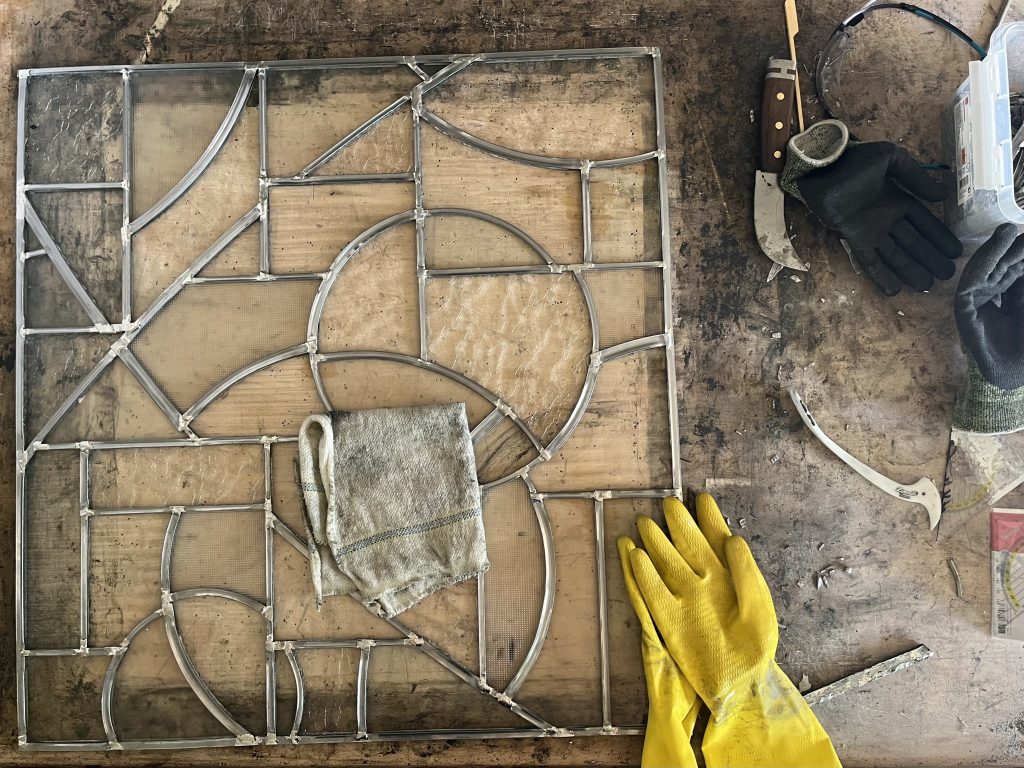
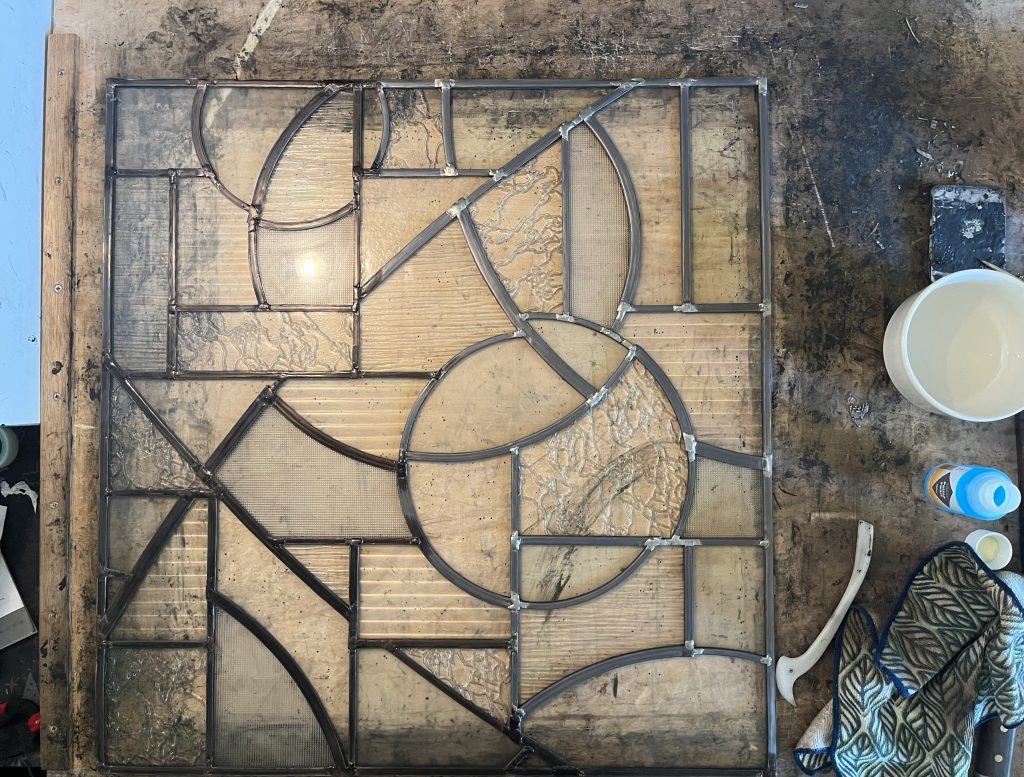
First, I determine which angle I will start with. This has to do with which shapes of the pieces I think will give the tightest result and with the ability to assemble the pieces. Due to the shapes, it may be easier to assemble from one side than from the other. Once the base print is fixed, the real work begins! First, I lay the two sides along the guides, and from the corner, I build the entire piece. The glass is checked and re-ground to size one last time, the lead is cut, and (generously) overlapped, which sounds simple, but it’s really painstaking work! With the laying of the last two outer edges, the whole piece comes together. Now, I carefully trim the lead at all the intersections and hammer it together as much as possible, so the intersections can be soldered.
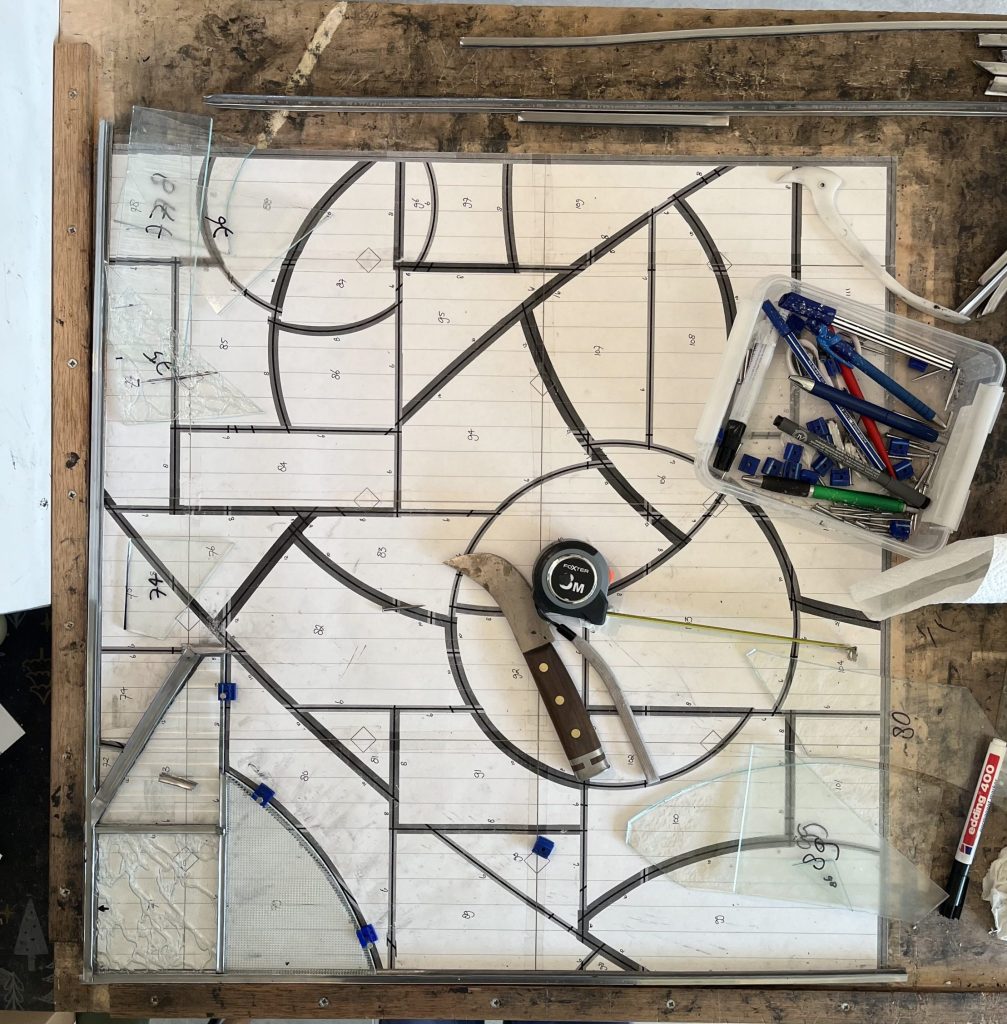
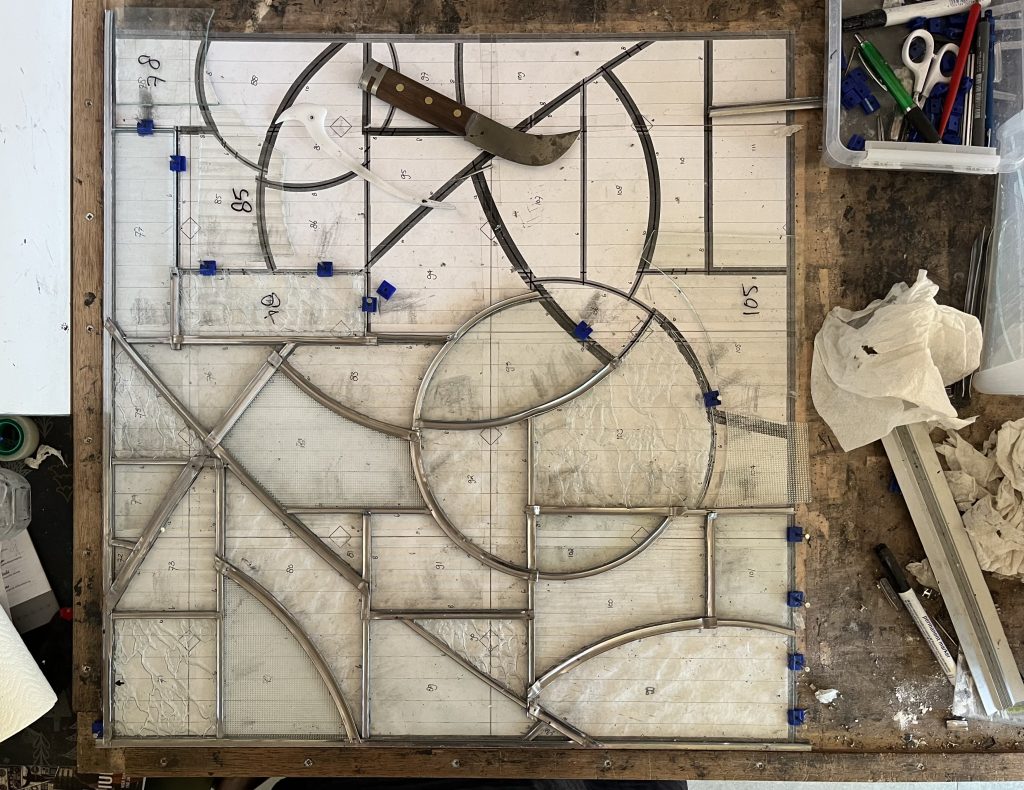
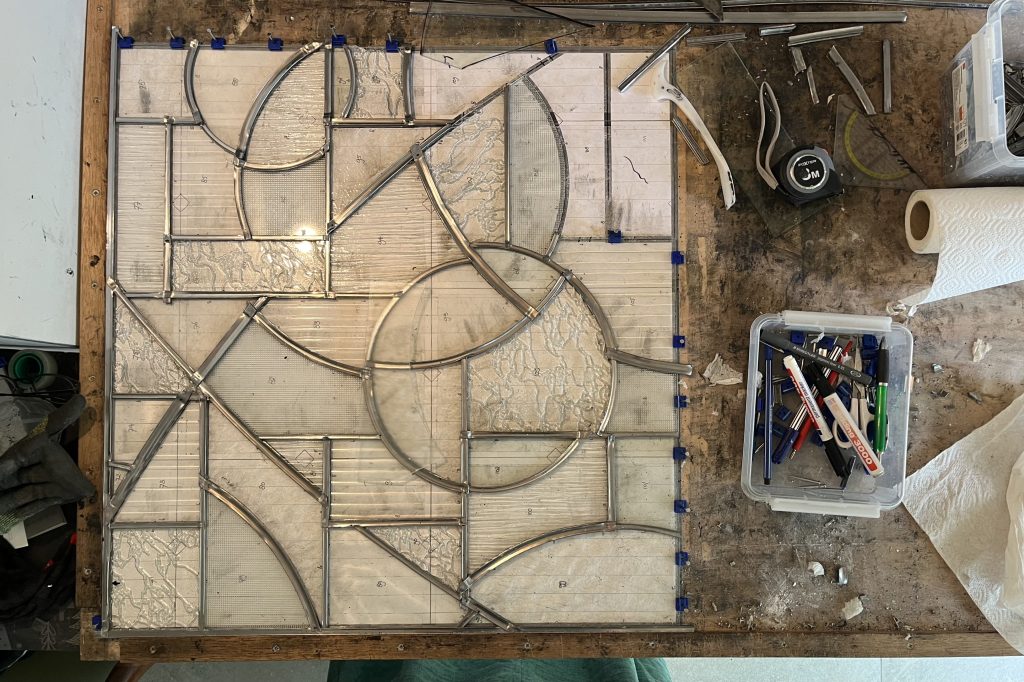
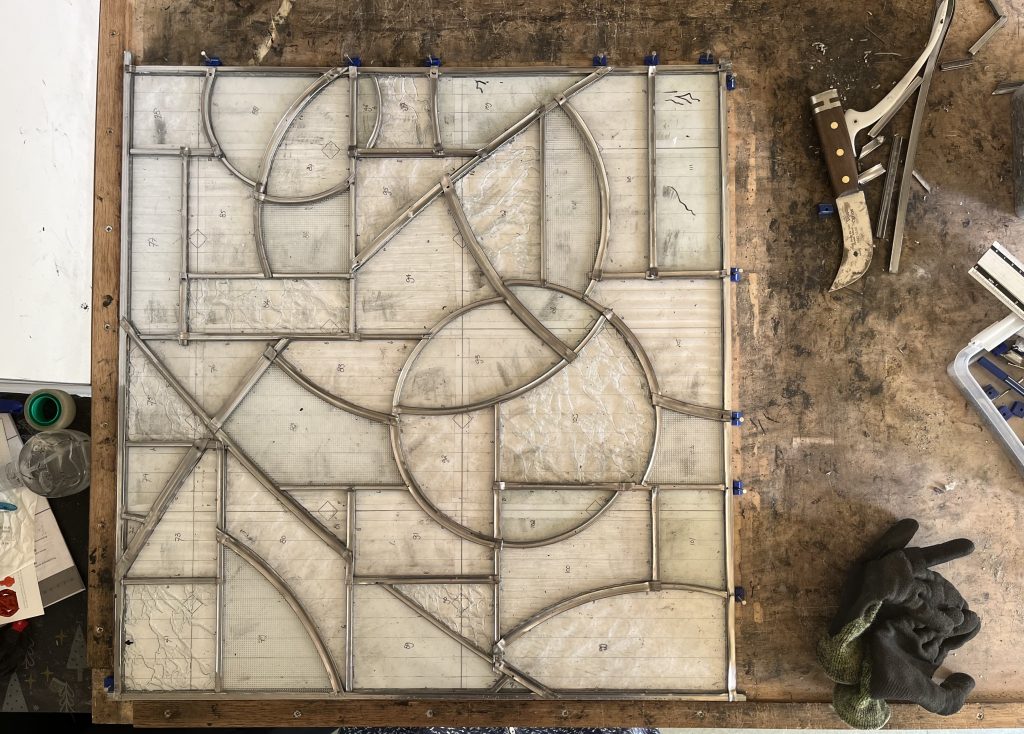
the lead part is finished
Soldering and finishing
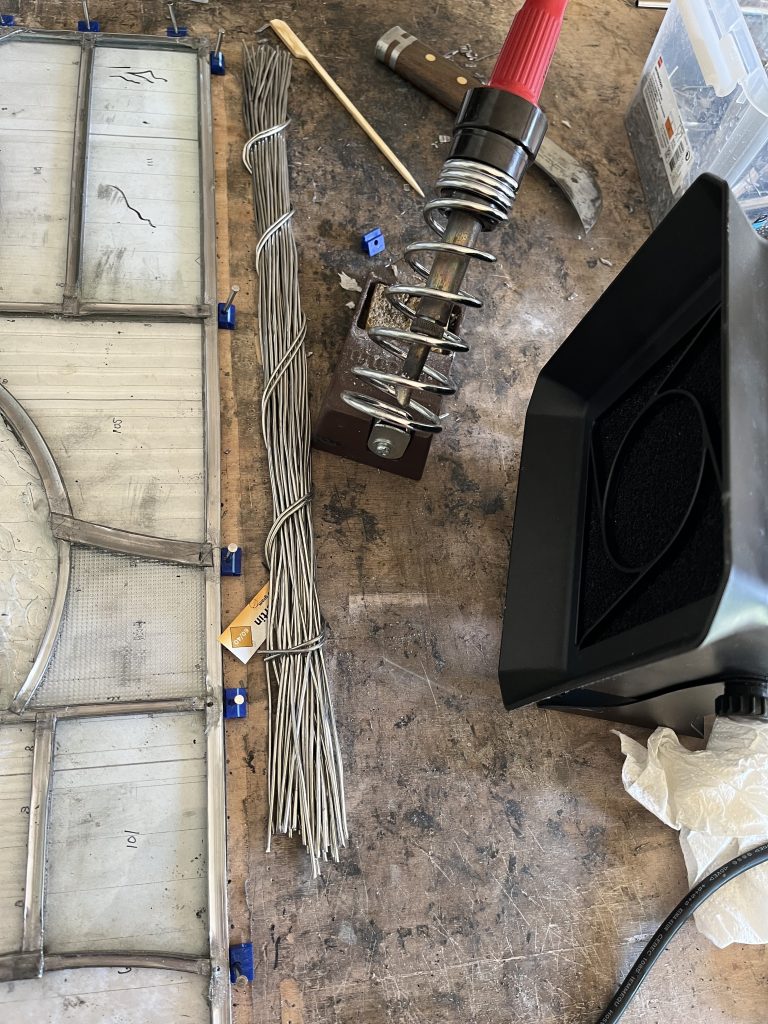
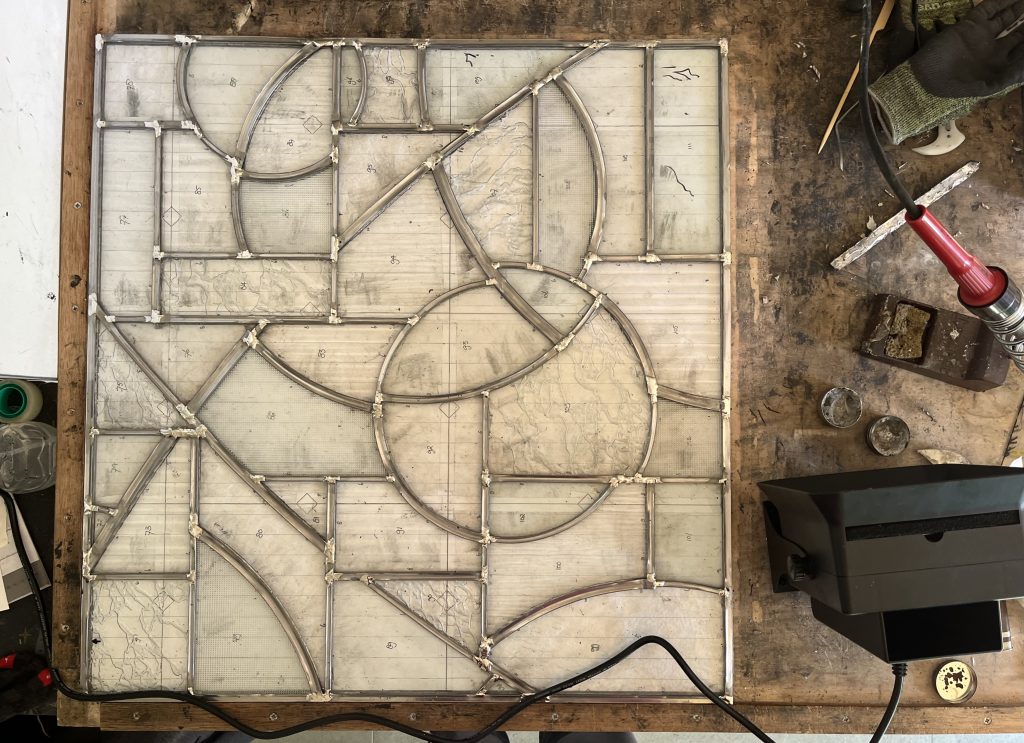
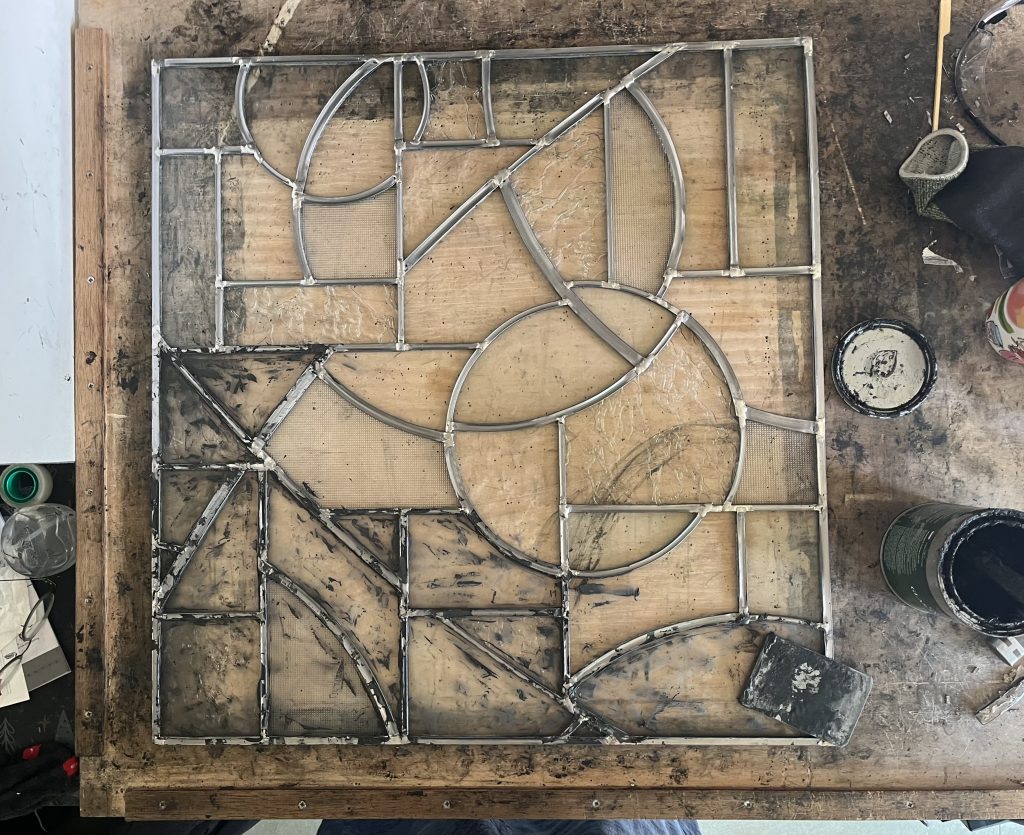
Before soldering, a final check is done by greasing all the intersections, then I solder the intersections together. Flipping the piece is always an exciting moment. Although I know everything is secure, I still get a little nervous every time. Fortunately, it always goes smoothly! The other side must then be thoroughly checked, trimmed, and hammered tight before it can be soldered. After soldering, the soldering flux is cleaned off.
Depending on where the stained glass is placed, both sides may be sealed to prevent the glass pieces from rattling in a door.
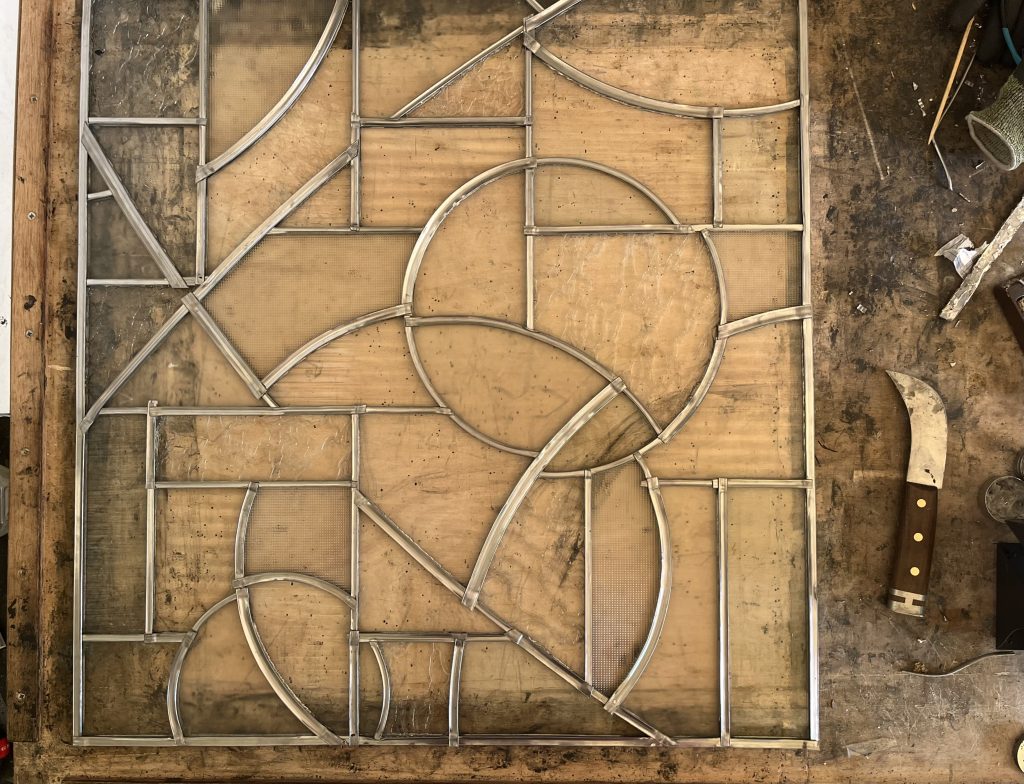
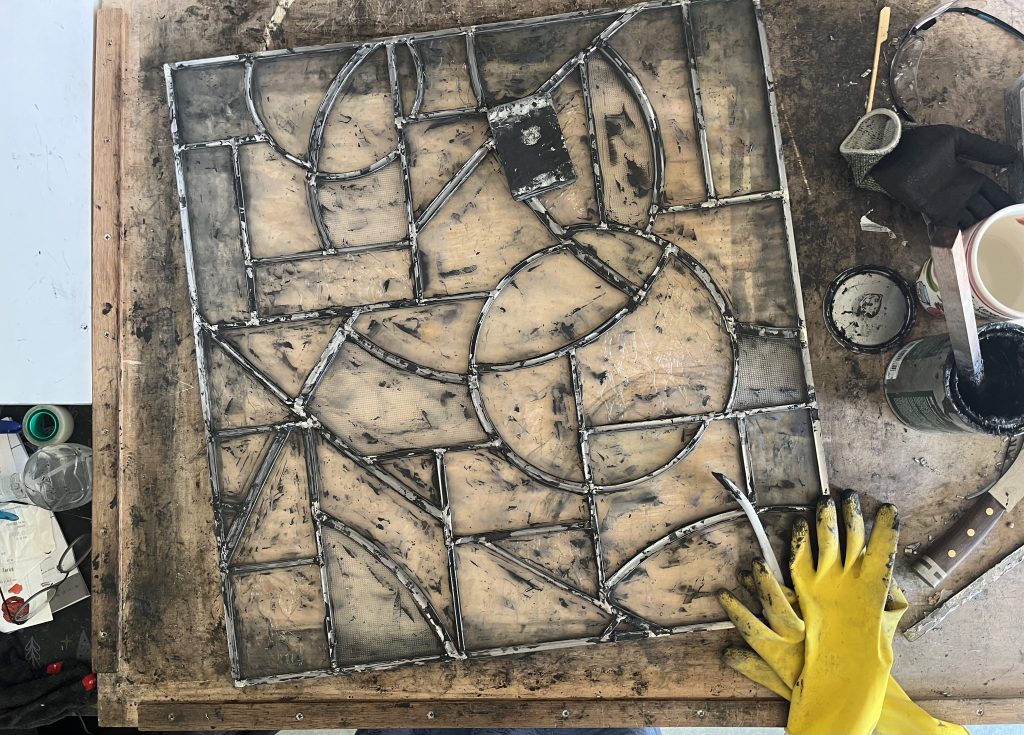
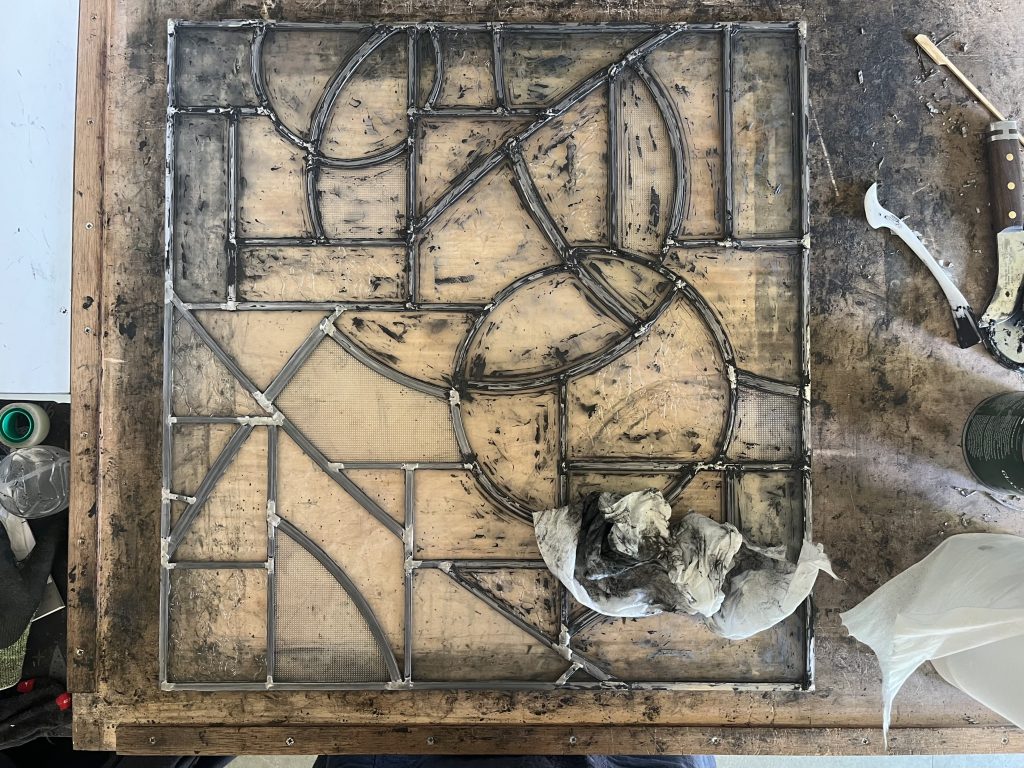
With or without sealant, I then press the open lead tightly against the glass at all points. This is actually the most beautiful moment of the whole process; in one go, I smooth out the lead, rewarding all the hard work with a neat final result! Once the work is sealed, a thorough cleaning follows, as some of the sealant has now been pressed out of the lead. And if, for example, the work contains Listral glass with tiny embedded squares, this can still be a real challenge!
I can optionally patinate the lead, giving it a beautiful black color. Once the work is sealed, I don't think this is necessary, as the lead naturally darkens due to the sealant. The final touch is a thorough cleaning, so I can enjoy the finished piece in the sunlight!
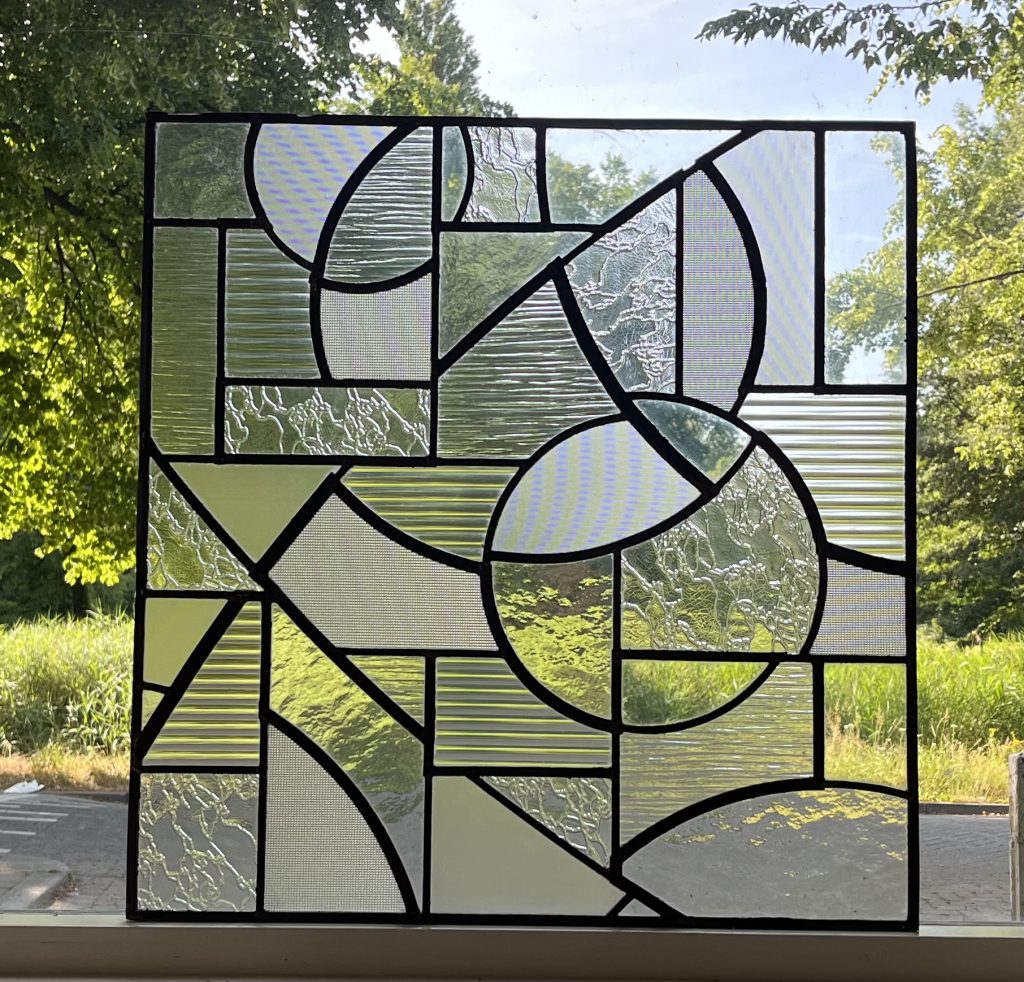
done!
Would you like to have your own unique stained glass made? Feel free to contact me to discuss the possibilities!